Hi Ladies I do hope you are all keeping well, unlike us March family sickies who have all seemed to succumb to all the nasty bugs that life can throw at you all in 1 week. I hasten to add we are all now on the way to recovery & I promise I am bug free now & will not infect anyone this weekend.
Well on to this months cards, we have different cards to offer each group this month so I will start with Aylsham
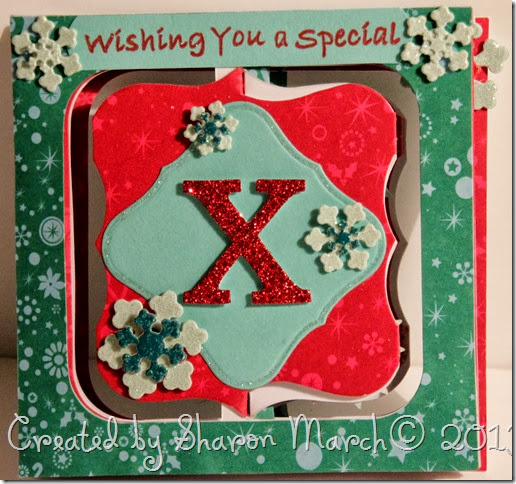
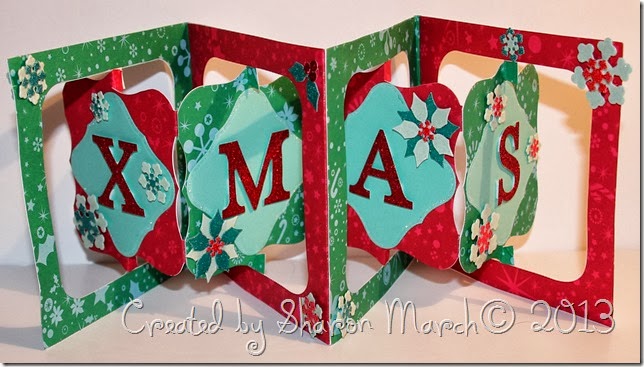
Card 1 – A Very Special Christmas Card
This card may take all the session to produce but it will be well worth it. I will cut your white card bases to save time but you will need to supply your patterned paper & other coloured card.
My card has a red & green theme but your colour scheme can be anything you fancy.
From the front this looks like nothing special but just wait until we open this card up………
The word can be any 4-5 letter word you like as I will bring all my alphabet dies with me plus all the dies to make the snowflakes etc. but please feel free to bring any of your own along plus any Christmas embellishments you may want to use.
Supplies needed
Coordinating patterned paper – 12x12” work best – I used 1 of each colour
Coordinating coloured card
Glitter card – I used Red, Green & Bluey White
Strong wet glue, 3D foam
Hethersett only
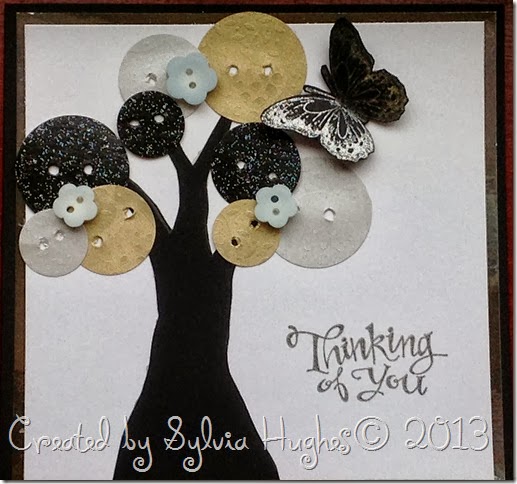
Card 1 – Circle trees – Birthday version
Supplies needed
14cm Square card base – Sylvia’s was Dark brown
Matt toning card – Yellow used here
2nd matt – white used here
3 toning patterned papers
brown paper/card – for tree trunk
3 circle punches – 1 1/4”, 1” , 3/4”
3 small buttons that coordinate
Ink to match your darkest paper colour
large sentiment – SU’s Sassy Salutation
Circle punch to make button holes
Alternative version
Supplies needed
As before but Black, Silver & white used here
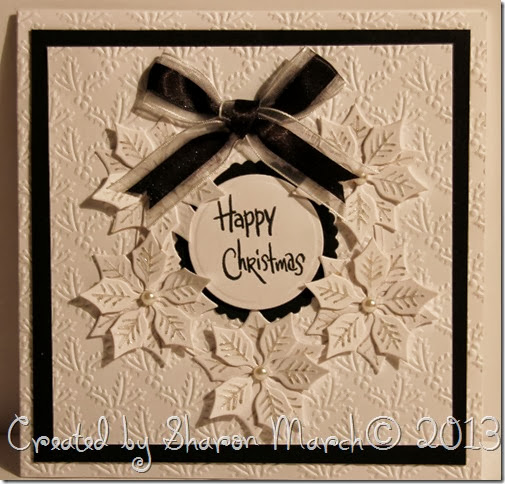
Card 2 – Poinsettia wreath
I’ve used a black & white theme here but please feel free to use what ever 2 colour you would like instead.
Supplies needed
14.5cm square base card – mine was white
Spare card – I used black & white
Small gems/pearls
Sentiment stamp/peeloff
Silver glitter pen
Coordinating ribbon – mine was all white to start with but using a black promarker I changed its colour
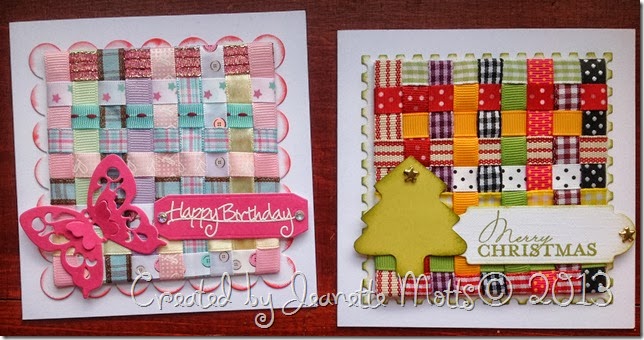
Card 3 – Jeanette’s Ribbon Card
Supplies needed
Square white/cream card approx 12 –13 cm
matching 9cm square piece of card
Peeloff or Greeting stamp – approx 6cm long
Punched or die cut shape in coloured card approx 5cm –can be shaped i.e. Butterfly, Christmas Tree
spare card for greeting - die cut or punched to a slim tag/label 6-7cm long if you can
coloured ink pads & blending brush/sponge
18 strips (each 11cm long) of 1cm wide ribbon – can be plain, patterned, dotty BUT NOT SHEER OR SEE THROUGH
STRONG double sided tape
die cut postage stamp & scalloped square shapes to finish card
